
The handpan is a unique instrument, combining captivating melodies with a sleek design. For those who want to add a personal touch, there is a solution: customization using an accessory that is both attractive and practical.
This guide explains how to create a harmonious finish compatible with the steel of your shell. The chosen materials must preserve the instrument’s quality while reflecting your style.
Draw inspiration from the artisanal techniques of professional makers such as Ayasa Instruments. Their manufacturing expertise shows how protection and artistic expression can be combined.
Whether you are a beginner or an experienced musician, this simple project can strengthen your connection with your handpan. Customization then becomes an extension of your creativity.
Introduction
Inspired by PANart’s original Hang®, the modern handpan has become a symbol of intuitive music. Its design, consisting of two steel shells, produces captivating sounds while offering considerable freedom for customization.
Most current models measure between 45 and 60 cm in diameter. This standard size makes transportation easier without compromising the richness of the notes.
| Model | Diameter (cm) | Number of notes |
|---|---|---|
| Hang® | 52 | 8-9 |
| Modern handpan | 45-60 | 9-12 |
Making one takes time and involves precise techniques such as hydroforming. These processes ensure unrivaled acoustic quality.
Adding a unique finish to an instrument is a tradition among enthusiasts. It strengthens the connection between the musician and their creation.
Why Add a Cord to Your Handpan?
Customizing your instrument protects it while allowing you to express your creativity. A well-designed cord helps preserve its acoustic quality while adding a distinctive visual signature.
Protection and style
The thin, delicate steel shells can be scratched in areas such as the shoulder or tonefield. A wraparound cord acts as a barrier against impacts.
Choose soft materials such as rubber or fabric. They preserve the instrument’s resonance while complementing its design.
Ease of transport
The handpan’s rounded shape makes it vulnerable while being transported. A cord secured around the outer area provides a safe grip.
Some designs even incorporate a handle. This prevents direct contact with surfaces and makes everyday transportation easier.
Draw inspiration from professional handpan-making methods. Brands such as Ayasa Instruments use accessories that combine functionality and visual appeal.
Materials Needed to Make Your Cord
Creating a successful cord begins with careful selection. The chosen components must combine strength with harmony with your instrument’s steel.
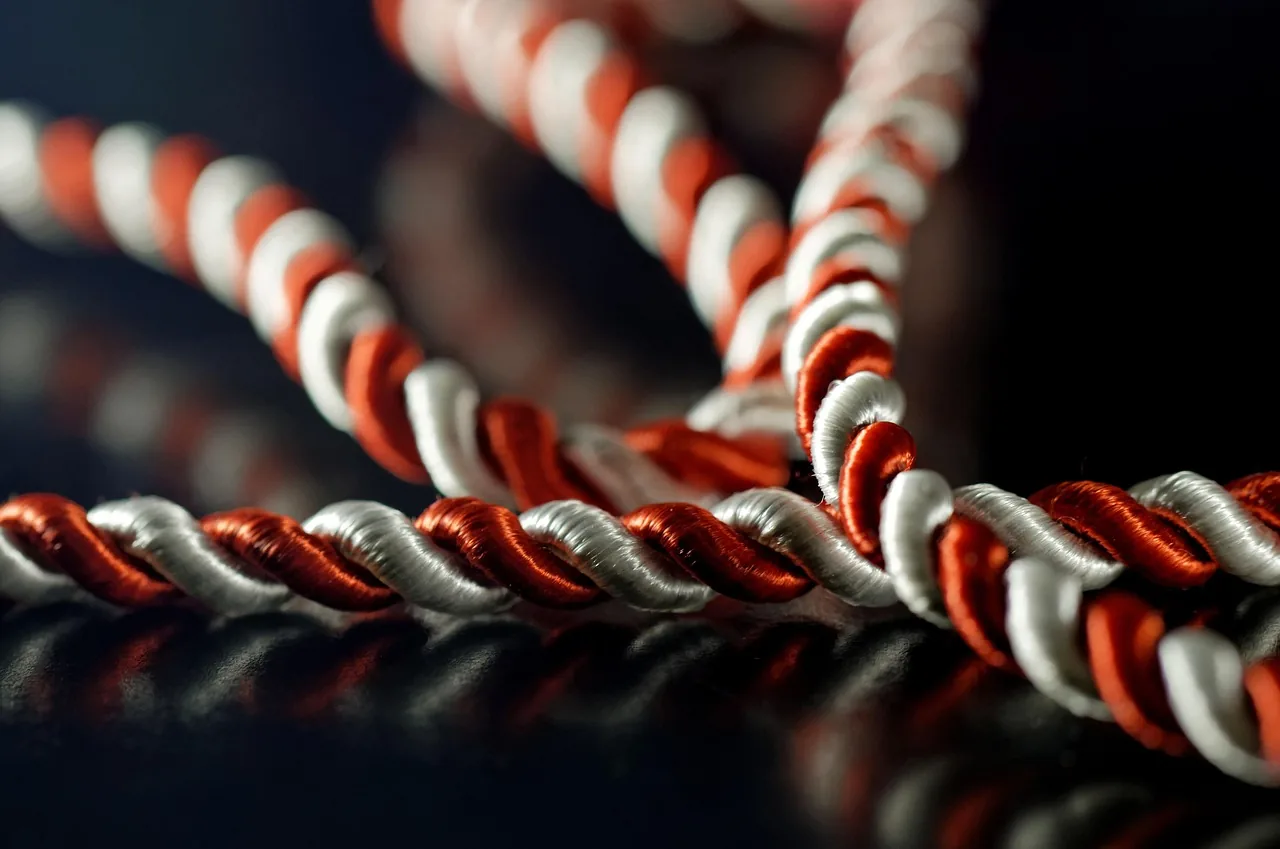
Which fabric or cord should you choose?
Paracord is favored for its durability. Lightweight and strong, it supports the handpan’s weight without affecting its resonance.
Leather is more elegant but requires regular care. Its thickness must be suitable to prevent rubbing against the steel sheet.
Essential tools
Here are the basic tools you will need:
- Metal-cutting shears for making a clean cut.
- An awl for precise piercing.
- Neoprene adhesive compatible with stainless steel.
This fastening technique ensures an optimal hold. Consider reusing metal offcuts to make personalized charms.
Preparing the Handpan Shell
Before any customization, preparing the shell ensures a professional result. This step protects the steel and ensures optimal cord attachment.
Cleaning the surface
Use 90% isopropyl alcohol to degrease the surface. This product leaves no residue while protecting the nitrided steel.
Avoid abrasive products and harsh solvents. They could impair the instrument’s acoustic quality.
| Method | Advantages | Precautions |
|---|---|---|
| Isopropyl alcohol | Dries quickly without leaving marks | Use with a soft cloth |
| Microfiber cloth | Does not scratch the shell | Keep away from tuned areas |
Locating the attachment areas
Identify the lower shell and the flat areas around the Gu. These untuned sections are ideal for attachment.
Magnetic stencils allow you to create symmetrical markings. Check for cracks before continuing.
Weaving and Knotting Techniques
Mastering knotting techniques allows you to personalize your instrument in a unique way. These steps transform a simple accessory into an artistic piece while protecting the shell.
Simple method for beginners
Spiral weaving is ideal for getting started. Use paracord and follow these steps:
- Wrap the cord around the lower shell.
- Cross the strands to form evenly spaced loops.
- Secure the ends with a square knot.
“Harmony between functionality and visual appeal depends on evenly formed loops.”
Complex patterns for advanced users
Draw inspiration from the handpan’s dimples to create patterns. Shell templates, like those used with a hydraulic press, can guide your designs.
| Technique | Material | Level |
|---|---|---|
| Ladder braiding | Leather or nylon | Intermediate |
| Structural reinforcements | Lightweight metal | Expert |
Adapt the patterns to the instrument’s musical scale. For example, choose a minimalist design for low notes and a more ornate design for high notes.
How to Securely Attach the Cord
Artisans’ manufacturing secrets reveal little-known tips. Optimal attachment preserves the harmony between appearance and acoustics, particularly for each of the notes on your instrument.
Secure knots
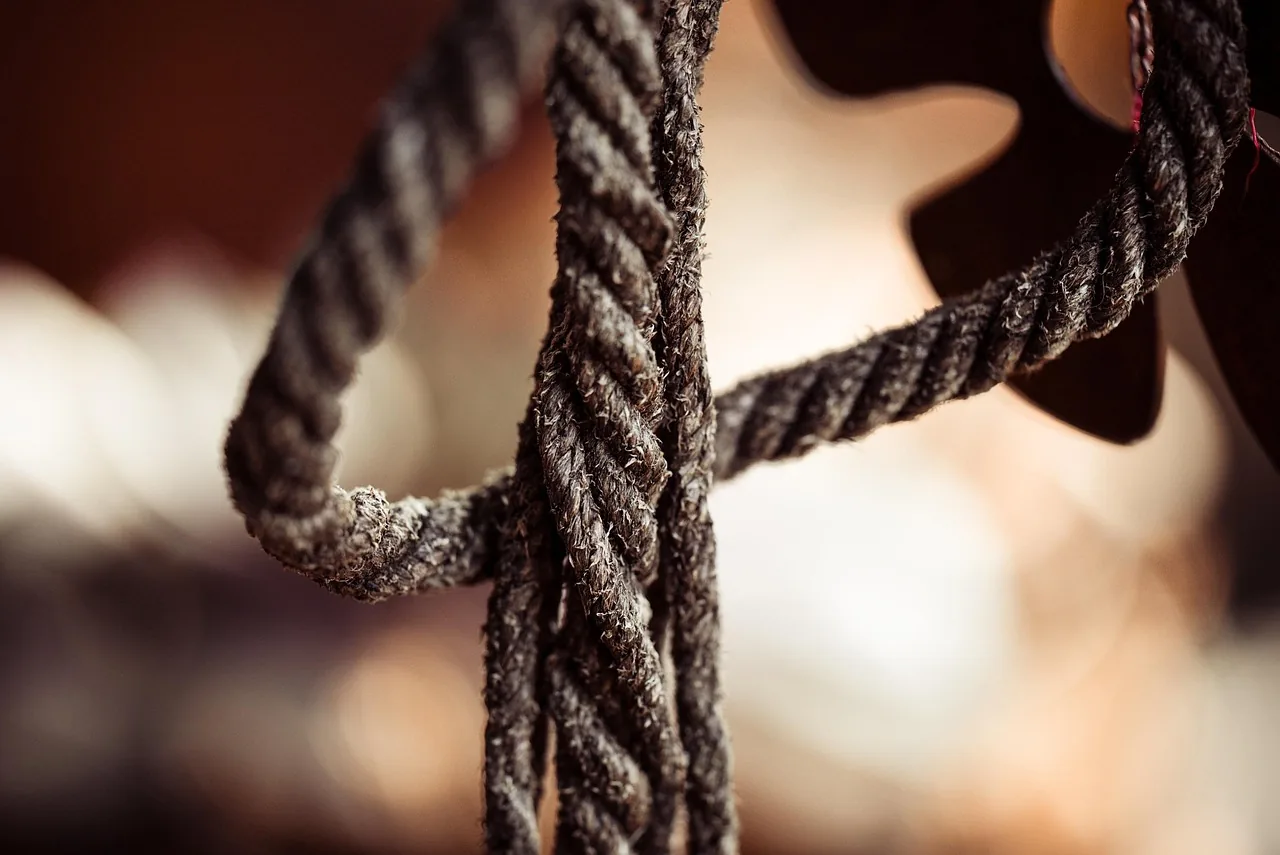
The clove hitch provides ideal adjustable tension. This method allows adjustments to be made without damaging the shell:
- Wrap the cord around the flat area.
- Create parallel loops to ensure even distribution.
- Tighten gradually to prevent vibrations.
“A well-tied knot withstands transportation while preserving the tuning.”
Using an adhesive suitable for steel
Makers use special adhesives to assemble the shells. Here is a comparison:
| Type | Setting time | Strength |
|---|---|---|
| Metal epoxy | 24 hours | Very high |
| Reinforced cyanoacrylate | 30 seconds | Medium |
Apply small dots of adhesive with a toothpick. Use magnetic clamps to hold the components in place while they dry, just as in professional manufacturing.
Creative Ideas for Personalizing Your Cord
Transforming your instrument into a unique work of art is within everyone’s reach. In just a few minutes and with a little imagination, you can achieve a result that combines protection with artistic expression.
Adding beads or charms
Brass beads pair perfectly with nitrided steel. Here is how to incorporate them:
- Choose lightweight designs so as not to affect the resonance.
- Create charms engraved with your favorite notes.
- Attach them with sliding knots to make adjustments easier.
“A meticulous finish enhances the soul of the musical instrument while protecting its structure.”
Combining colors
Experiment with colors to reflect your handpan’s tonal palette. Choose:
- Natural dyes for cotton cords.
- Gradient effects inspired by metallic paints.
- Contrasts between low notes and high notes.
These techniques, used by professional makers, ensure harmonious customization. Your handpan will become a visual extension of your musical world.
Care and Durability of Your Cord
A personalized accessory deserves suitable care to make it last. Materials such as leather and paracord require specific treatment to preserve their quality where they touch the instrument’s steel.
Safe cleaning procedure
Adapt your method to each material:
- Textiles: use a slightly damp microfiber cloth.
- Leather: apply a silicone-free conditioning cream.
- Steel: clean it dry with a specialized product.
Here is a comparison of the recommended solutions:
| Material | Frequency | Product |
|---|---|---|
| Paracord | Once a month | pH-neutral soap |
| Vegetable-tanned leather | Once every three months | Beeswax |
Checking vulnerable points
Inspect these critical areas every month:
- The fastening knots.
- The points of contact with the shell.
- Any signs of oxidation.
“A quick inspection takes less time than a complete retuning.”
This article has shown you how to keep your creation in perfect condition. With these simple habits, your cord will remain functional and attractive for years.
Conclusion
Enthusiasts know that one detail can make all the difference on a high-quality percussion instrument. A personalized cord protects the shell while reflecting your style and drawing inspiration from professional handpan-making methods.
Do not hesitate to experiment with steel-compatible materials. Always check their effect on the central note before permanently attaching them. Share your creations on dedicated forums to inspire other musicians.
Take the time to test different techniques. A meticulous approach ensures harmonious customization without compromising your instrument’s resonance.