
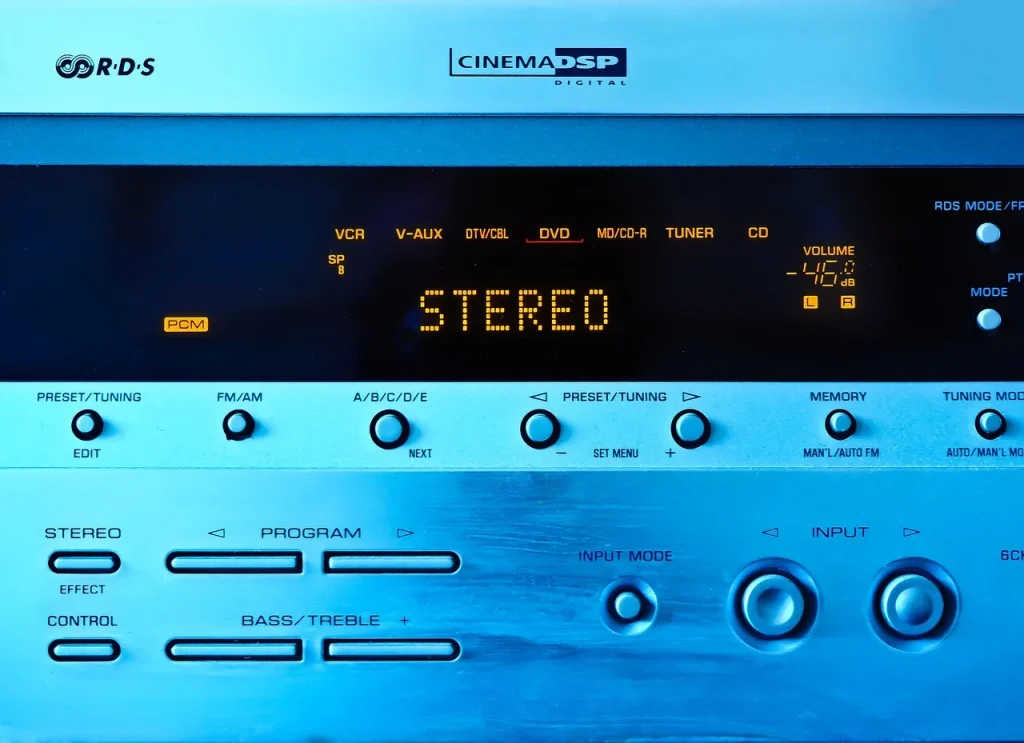
The handpan is a fascinating instrument capable of producing spellbinding sounds. To reveal its full richness, high-quality amplification is essential. This article guides you toward the ideal solution.
Created with the expertise of Alexandre Chaigne, a sound engineer at the Paris Opera, this guide explores the instrument’s technical characteristics. Its unique nuances and resonances require a tailored approach.
We will cover the best amplification techniques, complementary microphones, and solutions for every budget. There is no universal setup: every musician must run tests to find the perfect balance.
Ready to enhance your playing? Follow our practical advice for the best possible sound experience.
Why amplify your handpan?
The handpan’s captivating sound is fully revealed when it is amplified correctly. The benefits are numerous: optimal sound projection, suitability for large spaces, and preservation of subtle nuances.
The limitations of acoustic sound
In a noisy world, the instrument’s natural reach is often masked. City centers and festivals drown out its delicate frequencies. The result: its harmonics are lost in the ambient noise.
Reverberant spaces such as churches pose another challenge. Feedback can distort the sound. One solution is to use contact microphones, such as the OLOJi, which isolate vibrations directly from the surface.
Situations that require amplification
Outdoor use requires more power. An open-air concert or a session with other instruments in a rock or jazz band calls for consistent volume.
In the studio, amplification makes it possible to capture every detail. Unlike intimate settings, larger stages require reliable technology to reproduce the instrument’s magic.
“Without amplification, the handpan becomes a whisper amid the din.”
The effect is immediate: a sonic presence that transcends physical limitations. Whether for a recording or a live performance, amplification is the key to an immersive experience.
Understanding the handpan’s sonic characteristics
The handpan offers a unique sonic palette that combines harmonics with metallic resonances. Its timbre varies between models, but they all share an acoustic complexity that must be reproduced faithfully.
Preserving harmonic richness
The instrument generates fundamental frequencies, particularly those of Ding notes, from 80 Hz to 10 kHz. Upper harmonics reaching 15 kHz give the sound its depth.
For example, Pantam Steel emphasizes the midrange, while Bali Steel provides warmer bass. The amplification must complement these nuances.
Characteristic frequencies
In the studio, a flat response from 40 Hz to 15 kHz is ideal. It captures the extended sustain and ethereal sounds typical of the instrument.
Tip: a parametric equalizer lets you adjust frequency peaks. Slightly reducing the frequencies around 200 Hz prevents a muddy sound, while boosting 5 kHz strengthens the attack.
“A good system reproduces both the punch of the notes and the haze of the harmonics.”
The different types of handpan amplifiers
Handpan amplification relies on a variety of technologies, each adding its own distinct sonic character. Here are the three main categories to know.
Tube amplifiers: warmth and natural sound
Tubes produce a harmonically rich sound that is ideal for studio recordings. Their natural distortion adds depth to the notes.
Flagship model: the Fender Twin Reverb. Its warm sound enhances the handpan’s midrange frequencies. It is perfect for intimate sessions.
Solid-state amplifiers: precision and versatility
This technology provides an accurate response without excessive coloration. The QSC K12.2 excels on stage thanks to its adjustable 1,000-watt power.
Its strength? A neutral sound that preserves the instrument’s complex harmonics.
Digital amplifiers: lightweight design and built-in effects
Compact and lightweight at under 10 kg, the Roland KC-600 includes effects such as reverb. It is perfect for traveling musicians.
Tip: pair it with a condenser microphone to obtain detailed recordings.
“Your choice depends on how you use it: warmth in the studio, power on stage, or portability on tour.”
Choosing the right amplifier for your handpan: technical criteria
Optimal amplification depends on precise technical criteria. Two factors are crucial: power and frequency response. Here is how to get them right.
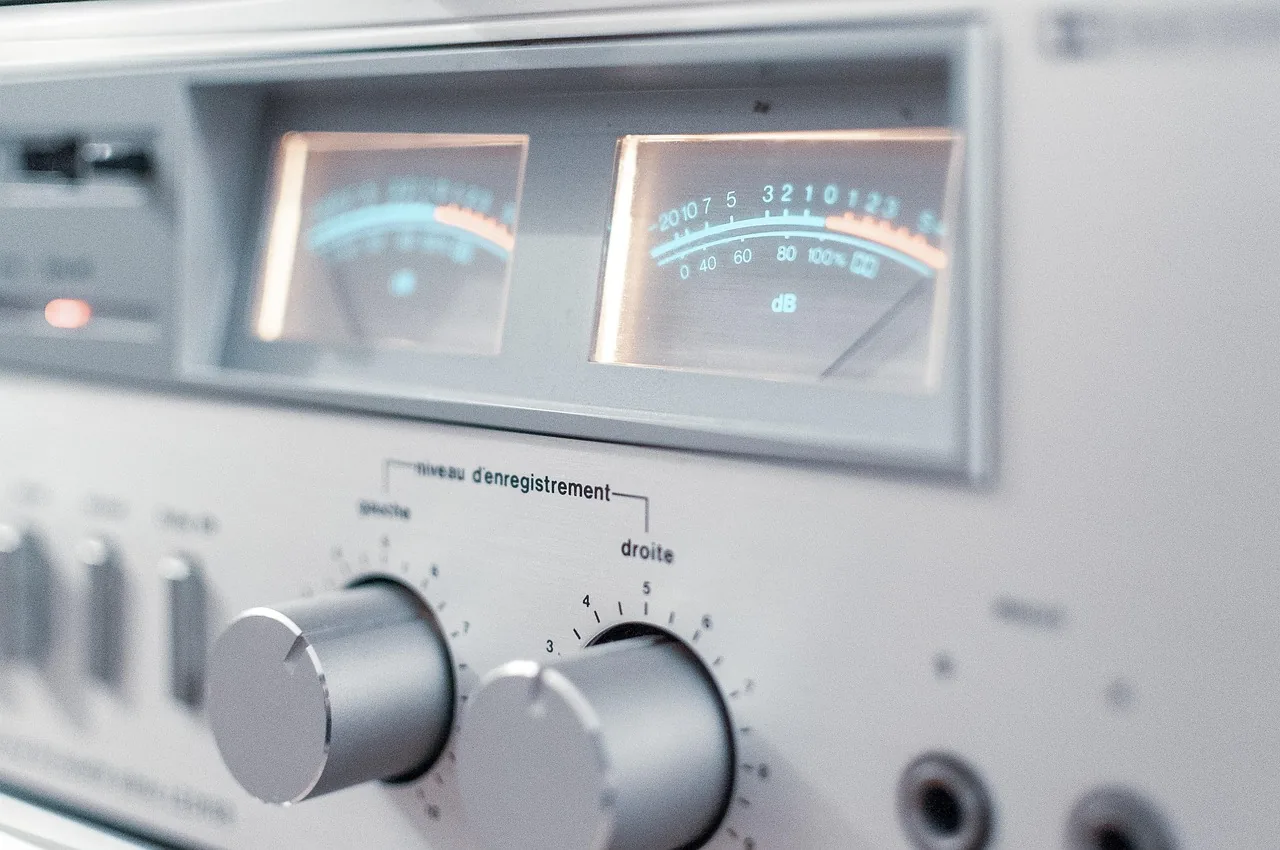
Power: adapting to every setting
The power required varies depending on the setting. A living room requires 30 to 60 W, while an open-air concert may need 100 watts or more.
Tip: allow 20% headroom to prevent clipping during sound peaks.
| Use | Recommended power |
|---|---|
| Living room | 50 W |
| Medium-sized stage | 100 W |
| Large stadium | 500 W or more |
Frequency response: capturing every nuance
A wide bandwidth from 20 Hz to 20 kHz is ideal. It reproduces both deep bass and high harmonics.
Low-voltage models require particular care. A high-pass filter can prevent humming.
“Quality lies in the balance between precision and warmth.”
Choosing the right system is essential for consistent performance. Always test your setup before approving it.
Choosing the right connections
The quality of a performance also depends on the audio connections used. Well-chosen equipment ensures accurate, interference-free sound transmission.
Microphone and line inputs
Combination XLR and jack inputs are essential. They accept both microphones and line-level signals. Here are their benefits:
- XLR: ideal for microphones and reduces unwanted noise.
- TRS, or stereo jack: perfect for balanced connections.
- MIDI: useful for controlling external effects.
Tip: check compatibility with your audio source. Some models include built-in preamps.
Outputs and expansion options
DI outputs, or direct boxes, make integration with PA systems easier. Other solutions include:
- Effects loops for adding pedals.
- Headphone outputs for silent monitoring.
- Wireless systems such as the Shure GLXD16.
Pay attention to output impedance. An incorrect setting can damage the type of equipment being used.
“The right connections transform a basic setup into a professional system.”
Amplification in the studio and on stage
Two distinct sonic worlds: the studio and the stage. Each environment imposes specific technical constraints on musicians. The approach to capturing the instrument’s essence differs radically.
Specific studio requirements
Recording demands extreme precision. Condenser microphones such as the Neumann U87 capture every detail. Their large diaphragms reproduce subtle harmonics.
Acoustic isolation is crucial. A soundproof booth prevents unwanted noise. Tube preamps add natural warmth to create a sense of depth.
Tip: use a hardware compressor to control dynamics. Digital audio software can then be used for fine adjustments.
Concert requirements
For live performances, durability takes priority. Dynamic microphones such as the Shure Beta 181 resist feedback. Their directional pickup pattern reduces feedback.
Power takes precedence over finesse. A PA system of at least 500 W ensures clear projection. Remember to use wind filters for outdoor concerts.
“The perfect sound does not exist: it must be recreated for every setup.”
A hybrid solution is to use modeling amplifiers such as the Kemper. They reproduce both studio sounds and stage settings. They are ideal for traveling musicians.
The microphone-amplifier pairing: finding the right combination
The chemistry between the microphone and amplifier determines the final sound quality. A poor match can alter the harmonics so characteristic of this instrument. Here is how to combine technology and musicality.
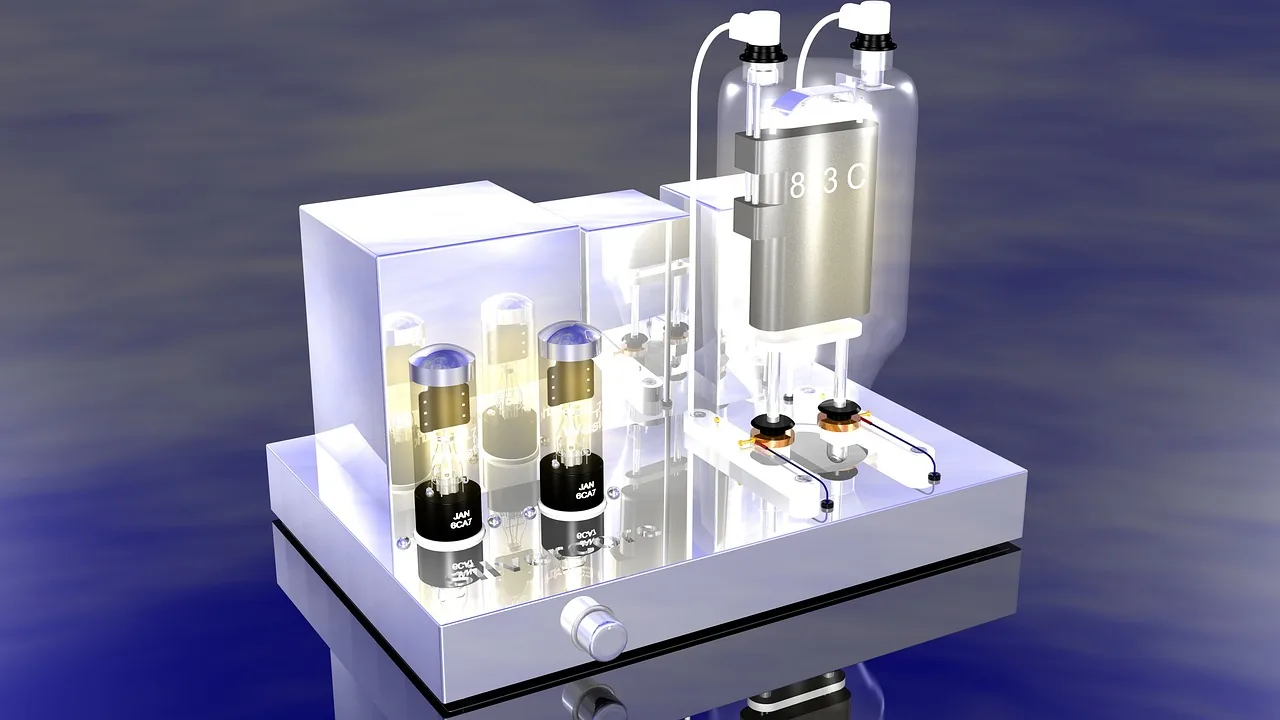
Condenser microphones and tube amplifiers: precision
Condenser microphones such as the Rode M5 capture nuances with remarkable fidelity. Their sensitivity calls for tube amplifiers to achieve a warm sound.
Benefits of this combination:
- Linear frequency response from 20 Hz to 20 kHz
- Natural harmonic distortion
- Ideal for studio recordings
A successful example is the Neumann KM184 paired with a Fender Twin Reverb. It is a perfect combination for intimate solos.
Dynamic microphones and digital amplifiers: versatility
For festival stages or portable setups, dynamic microphones such as the Shure SM57 pair well with digital amplifiers. Their durability works wonders in noisy environments.
The Roland Cube and SM57 combination provides:
- Resistance to feedback
- Built-in effects such as reverb and delay
- Reduced weight for touring
“The right balance? A microphone that complements the amplifier without overpowering it.”
Be careful with ribbon microphones: their low output level requires specialized preamps. The Nadha Brama solution, designed specifically for this instrument, avoids these pitfalls.
In short, always test several combinations. The biggest mistake would be to choose a type of equipment without trying it in a real-world situation.
Budget and value for money
Investing in an amplification system requires a careful budget assessment. The choice depends on whether you play for recreation, perform on stage, or record. Here is how to optimize your investment.
Price ranges by use
Prices vary according to technology and power. Here is a guide to choosing wisely:
| Use | Category | Average price |
|---|---|---|
| Beginner | Digital, 50 W | €100 to €300 |
| Semi-professional | Solid-state, 100 watts | €400 to €600 |
| Professional | Tubes and premium microphones | €1,000 or more |
Tip: tube amplifiers offer better sound, but their maintenance costs are higher. Solid-state amplifiers are more economical.
Recommended brands
Several manufacturers stand out for their quality:
- Thomann: reliable entry-level equipment such as the t.amp E800.
- Schertler: hybrid systems for the stage.
- AER: a leading name for acoustic instruments.
The secondhand market can be worthwhile. Always check:
- The condition of the electronic components.
- Whether invoices or warranties are available.
- The results of sound tests before purchase.
“Good equipment retains its value for five years if it is serviced regularly.”
Do not forget accessories: shielded cables, anti-vibration mounts, and any processors you may need. Allow 10% to 20% of the total budget.
Try before you buy: our advice
Testing equipment is a crucial step for every serious musician. A good setup amplifies the magic of your playing, while a poor choice can ruin the experience. Here is how to avoid the pitfalls.
Where to test equipment
Several options are available:
- Specialist stores: Woodbrass and Audiofanzine offer dedicated spaces.
- Conventions: trade shows such as Musicora let you try several models.
- Musician networks: peer-to-peer loans allow testing under real-world conditions.
Tip: take advantage of short-term rental services to conduct a thorough assessment.
Parameters to check
Here is a checklist to guide your tests:
| Criterion | What to assess |
|---|---|
| Transient response | Ability to reproduce fast attacks |
| Distortion | Stability at high volume, particularly during concerts |
| Portability | Total weight of the amplifier and flight case |
“A comparative recording reveals differences that cannot be detected by the unaided ear.”
In practice, compare at least three models. Festivals are the ideal opportunity to assess the result in a noisy environment. Avoid common mistakes such as overlooking cables or accessories.
Conclusion: find the amplifier that brings out the best in your handpan
The right sound depends on a blend of technology and musical sensitivity. Sound fidelity, adaptability, and ergonomics are the cornerstones of a successful purchase.
Your playing style guides the final choice. A studio calls for precision, while a stage demands power. Test, compare, and let your ears decide.
Combine technical expertise with hands-on experience of the instrument. Share your discoveries in the comments: every experience enriches the community.
Choosing wisely takes time. Invest gradually, focusing on the essentials first. The perfect solution is the one that resonates with your world.